I saw my friend AnnMarie making stacks of these trees this past month. I decided it would be fun to gather with a few friends and do a tree swap!
Here is the blog where you will find the original directions and an easy print out for these trees. But as my friend Susan discovered, sometimes trimming the trees down to the recommended size, was just a bit too small for our liking.
So, here's a pictorial to clarify for my swap friends just exactly how to make the trees and the trimming measurements.
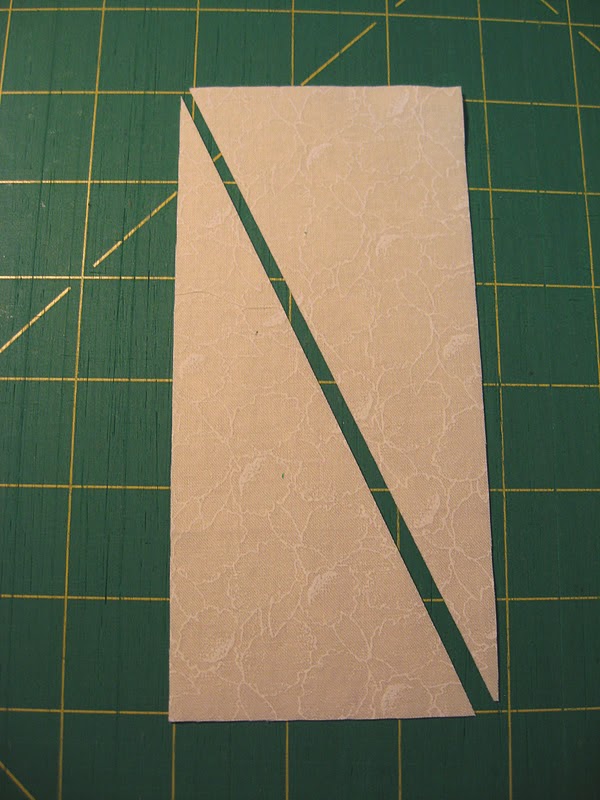
Start with a TWO 2"x 4-1/4" tree fabrics, cut diagonally as shown with just ONE of tree rectangles
then cut the opposite diagonal on the second tree rectangle.
Cut TWO background fabrics 2-3/4"x6" then cut one on the diagonal and the other on the opposite diagonal just like the tree rectangles.
From all these fabrics, you will render 2 trees.
Take the two background fabrics (one from each of the different diagonal cuts) and lay the tree fabrics (again, one from each of the opposite diagonal cuts) right sides together as shown. Pay close attention that the correct edge of the tree fabric is stitched onto the correct edge of the background. Make sure the points of the tree fabric are at the very tip of the background fabric....stitch as shown
Press towards the tree fabric
i trimmed where the tree top intersects on both sections lining up with the edge of the green tree fabric and trying to keep things as square as possible.
Now the center of the tree can be lined up and stitched using the 1/4" seam allowance
right sides together
even if it looks a bit uneven, i pin where the tree top intersects and the trimming squares the block up

press seams open
I trimmed this section to 4", leaving as much of the background fabric at the top as i could
(almost and inch)
Next comes the trunk. The original directions say to cut TWO background pieces 2"x4+"
INSTEAD...cut them 2-1/2"x 4".
you can always trim down. Sew the brown 7/8" strip between the 2-1/2x4" rectangles and press away from the trunk
Subcut into 1" sections to be used for more than 1 trunk if you like.
Find the middle of the trunk and line up with the vertical seam on tree and stitch in place
Now here's the trimming dimensions for my swap partners.....
Trim block to 4-3/8" tall (there should be approximately 7/8" of background above the tip of the tree. And from the seam of the trunk to the bottom of the block there should be approximately 3/4".
The width should measure approx. 3-6/8". I lined my ruler at the 1-7/8" mark with the vertical seam and trimmed the side. Then i flipped the block, measured again using the 1-7/8" mark on the vertical seam and trimmed the opposite side.
I hope this picture helps.
For the open spaces with no trees, cut the background fabric 3-6/8"x4-3/8" (same size as the trimmed tree block)
Yes...it looks like Christmas....
but never to early to start!!